
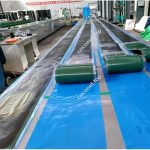
The conveyor belt puncture injury is a serious local damage. During the subsequent cold vulcanization repair process, we need to prepare the following tools in advance.
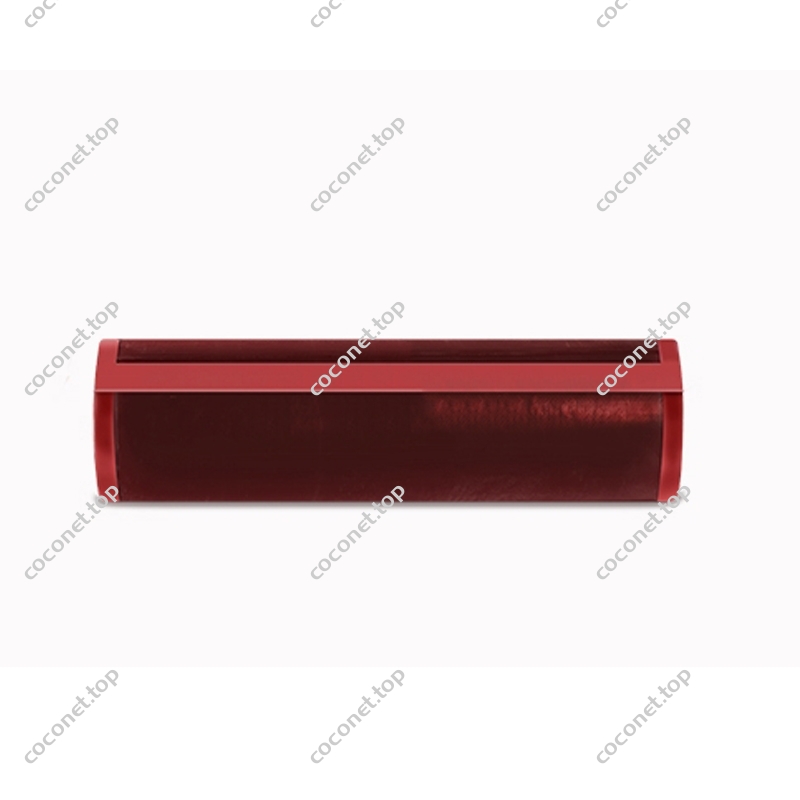
Tools used: angle grinder, tungsten steel grinding disc, cleaning brush, brush, rubber barrel, compaction roller, knife, rubber hammer, Glue gun;
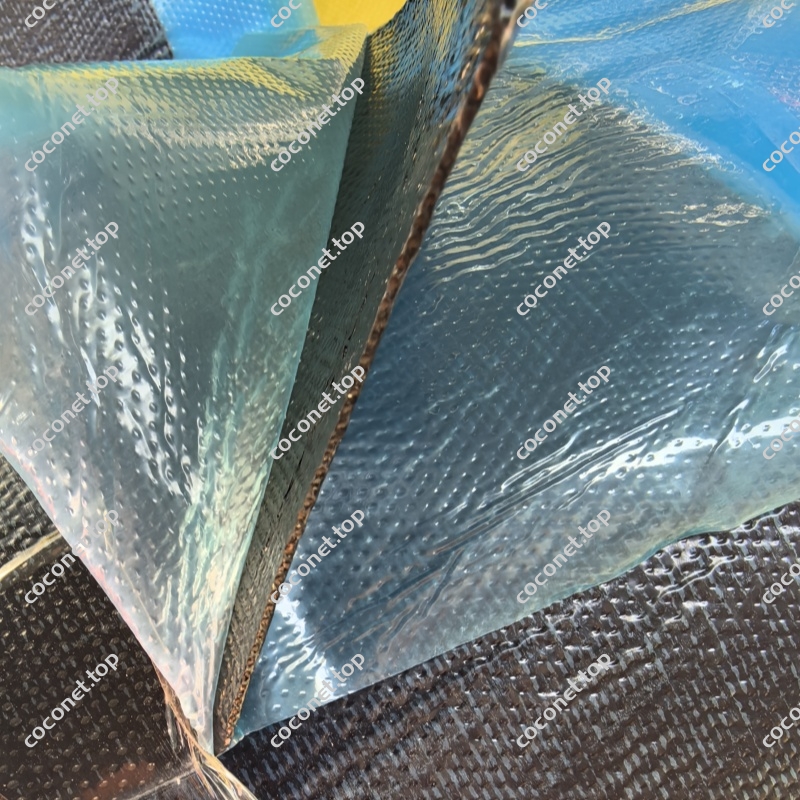
Materials used: cleaning agent, cold vulcanized glue, repair strip, AB glue, AB tape;
After preparing the above conveyor belt repair tools and materials, the next step is to start the cold vulcanization repair of the belt:
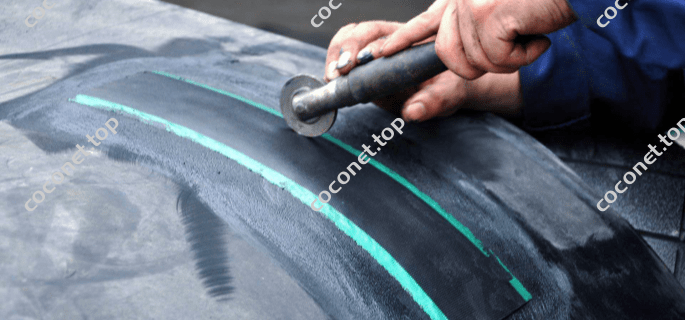
- Use a tungsten steel polishing disc to polish the damaged part of the conveyor belt. The polished area is slightly larger than the damaged area. Then use a wire brush to clean the surface residue. Pay attention to polishing the middle of the puncture hole, and then clean it with cleaning agent.
- Cut the repair strip according to the repair area, and apply glue under the repair position. When the first coat of glue is dry and becomes slightly less sticky, apply the second coat of glue. The second coat of glue should not be too thick. Just brush it gently to every place. Apply glue to the repair strip as well.
- When the glue is dry and no longer sticky, start gluing. When gluing, gently place the repair strip in the bonding position, and then use a compaction roller to squeeze the bonding position from the middle to the surroundings to exhaust the air.
- After pasting the repair strip under the repair position, brush AB glue in the middle of the puncture hole. When the AB glue is slightly less sticky, set the temperature of the T2 glue gun at 80°C. After the glue gun is at constant temperature, place the strip in the glue gun and squeeze the vulcanized strip into the puncture hole. Use a compaction roller to fully press the strip into the puncture hole to make it fully adhered, and then brush AB glue on the strip.
- When the AB glue becomes slightly less sticky, apply glue to the repaired area. When the first layer of glue is left to dry and becomes slightly less sticky, apply the second layer of glue and apply glue to the repair strip as well.
- When the glue is dry and becomes slightly less sticky, stick the repair strip on the repair location.
- Use a knife to cut the surrounding area of the repair strip into a 45% bevel to prevent the conveyor belt from catching on the repair strip during use, and then use a rubber hammer to pound the repaired position to make the bonding position stronger.
Repair Conveyor Belt Guide
Repair conveyor belt products

Unvulcanized Cover Rubber
Uncured Intermediate Rubber
Tyre Repair Cord Rubber
Implementation Steps

Communicate thoroughly with clients to understand specific application scenarios and braking requirements.
Assess environmental conditions.

Based on the provided materials and mining information, conduct on-site inspections and jointly negotiate to determine the plan.

Having complete testing instruments and equipment, as well as a quality inspection team, scientific management, and real-time monitoring, can better improve product quality

Ensure the system operates normally and provide necessary technical support.

Ensure the achievement of extending equipment lifespan, reducing downtime, and improving overall efficiency of the enterprise
Respond promptly to client repair and replacement needs, offering technical support and training.
Please submit the product requirements and we will contact you immediately
Related Articles:
 Conveyor Belt Repair Guide:Fabric belt vulcanization joint operation steps
 What are the repair methods and precautions for conveyor belts?
Conveyor Belt Patching Materials: The Expert’s Guide to Repair & Maintenance Solutions
What are the repair methods and precautions for conveyor belts?
Conveyor Belt Patching Materials: The Expert’s Guide to Repair & Maintenance Solutions
 Conveyor Belt Cleaner: Essential for Efficient and Durable Conveyor Systems
 How to replace the Conveyor belt cleaner blade replacement
 What are the common types of belt conveyor cleaners and their applications